
Coolant flushing helps remove contaminants, rust, and scale buildup that affect engine performance. However, improper methods can severely damage engine seals.
Aggressive chemical use, pressure spikes, or skipping necessary steps lead to premature leaks and failures.
Goal is to provide methods that balance effectiveness with safety.
Both DIYers and professionals will find actionable steps to ensure cooling system longevity without compromising engine integrity.
The Cooling System and Engine Seals
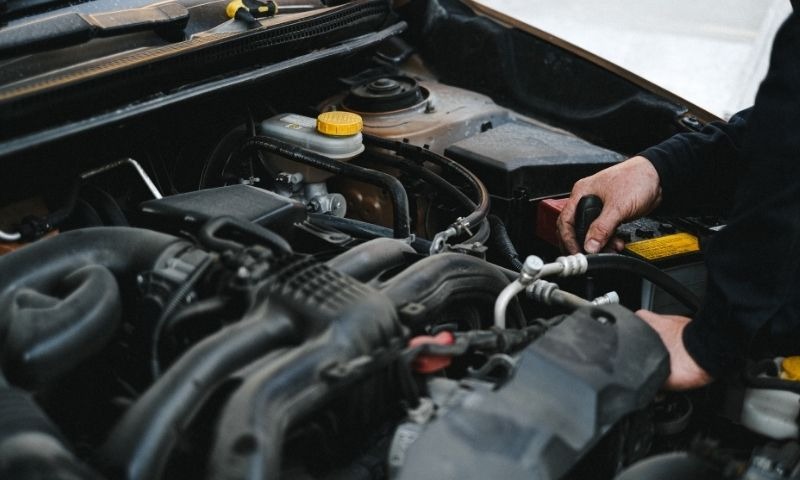
A vehicle’s cooling system consists of several key components that work together to regulate engine temperature: radiator, water pump, heater core, thermostat, various hoses, and seals.
Engine seals maintain system pressure and prevent coolant and oil leaks. These are often made of rubber or composite materials sensitive to chemical degradation and temperature spikes. Improper coolant flushing can cause swelling, cracking, or breakdown of these seals, especially if incompatible chemicals are introduced or if excessive flushing pressure is applied.
Common damage occurs due to overheating, which hardens seals, or through exposure to harsh chemicals during coolant flushes. Failing to recognize these vulnerabilities risks expensive repairs. Proper flushing methods are not only preventative but essential for long-term engine health.
When and Why to Flush Coolant
Coolant doesn’t last forever. Over time, it degrades, becomes acidic, and loses its anti-corrosion properties. Signs that it’s time for a flush include discolored or sludgy coolant, engine running hotter than usual, non-functional heater, or visible sludge in the reservoir or radiator neck.
Coolant manufacturers and vehicle manuals typically suggest flushing every five years or after 100,000 miles. Neglecting this maintenance shortens component lifespan and can create internal blockages.
Performing a timely flush removes contaminants and restores optimal cooling. Skipping it encourages scale and sludge accumulation, which can restrict flow, trap heat, and accelerate wear on the water pump and seals.
Safe Flushing Methods
Flushing coolant systems requires care, especially when the goal is to protect engine seals while removing contaminants effectively.
Each method offers different advantages depending on the condition of the cooling system and the materials involved.
Below are several methods, each introduced with clear instructions, pros and cons, and specific safety notes.
Manual Water Flush (No Chemicals)
A basic method ideal for regular maintenance involves no harsh substances and is gentle on seals. Start only when the engine is fully cool.
Drain coolant via the lower radiator hose. Refill the system with distilled water. Run the engine with the heater on for about 10 to 15 minutes. Let it cool and drain again. Repeat two or three times.
Advantages include simplicity and safety. No chemical reactions will harm internal components. However, it may not effectively remove oil-based contamination or heavy scaling.
- Ideal for routine maintenance or vehicles with sensitive components.
Prestone Cooling System Flush (Mild Chemical Flush)
This method introduces a commercial chemical specifically designed to be safe on plastics, metals, and rubber seals. Begin by fully draining the old coolant. Add the Prestone flush with distilled water. Run the engine for 45 to 60 minutes. After cooling, drain and follow up with at least two distilled water flushes. Refill with a proper 50/50 coolant mix.
Seal safety is a top benefit here. Formulated not to degrade gaskets or hose material. Follow temperature precautions and always flush thoroughly after treatment to prevent any residue.
- Recommended for systems showing early signs of scale or age.
Citric Acid Flush (Mild Descaling)
Mild acid-based flushes help remove mineral scale from hard water deposits. Add one to two tablespoons of citric acid per gallon of distilled water.
Let the mixture circulate in the system for a few days during normal driving. Drain and flush thoroughly with clean water afterward.
Ideal for cooling systems affected by scale, not for greasy sludge or oil contamination. Acid must be rinsed out completely, or it may corrode aluminum parts over time.
- Never combine with other chemical treatments or perform this without prior research on material compatibility.
T-Flush Tee (Heater Hose Integration)
A more active method includes installing a T-tee into the heater hose. Attach a garden hose and open the radiator cap and drain valve.
Start the engine with the heater on full blast. Allow water to circulate and push debris out the radiator neck. Run for at least 10 minutes before turning off water and draining.
Continuous water flow helps dislodge stuck particles. However, poor installation can cause leaks, and incorrect pressure management can damage old hoses.
- Monitor closely during use. Use only if the system has been maintained and hoses are in good condition.
Dishwasher Detergent Method (DIY Degreaser for Sludge)
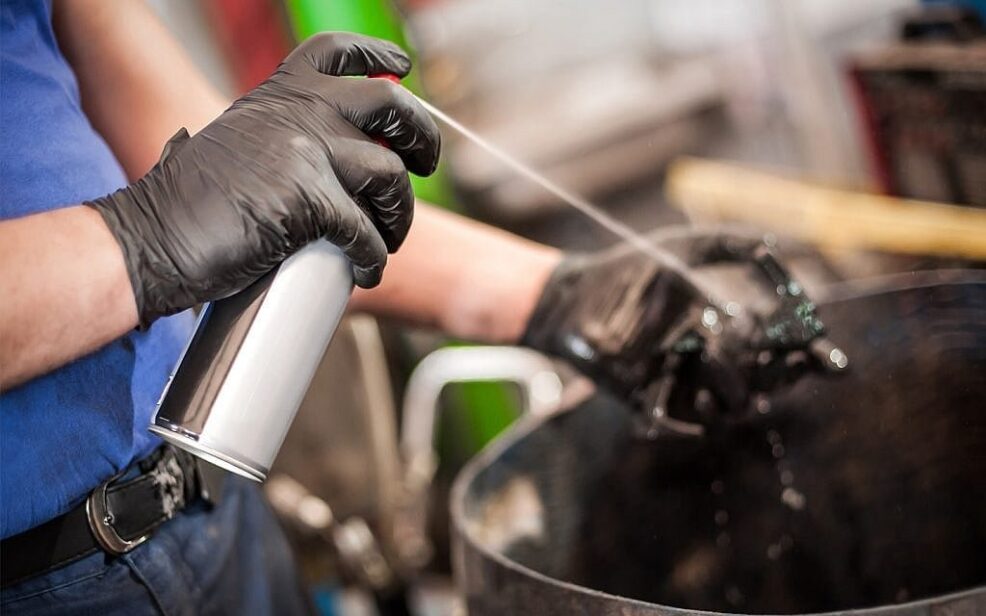
For systems contaminated with oil or greasy sludge, use a non-foaming dishwasher detergent like Cascade powder. Dissolve a small amount in distilled water. Run the engine briefly to let it circulate. Cool down, drain, and flush thoroughly with water.
Effective in dissolving oil films and sludge. Always ensure thorough rinsing. Avoid use of scented or foaming detergents, which can cause bubbles and residue.
- Use sparingly and only for special cases where oil contamination is suspected, such as after a failed head gasket.
Refill Best Practices
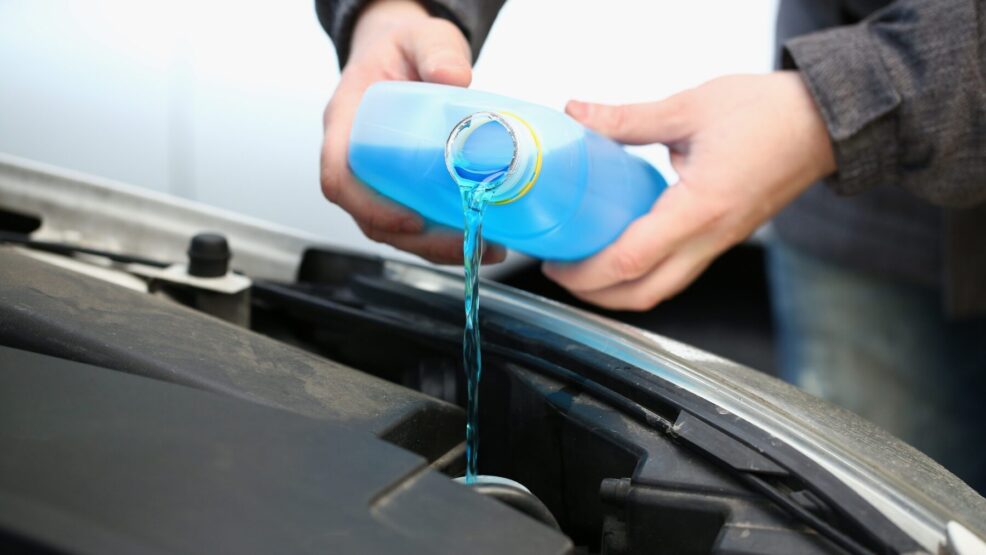
After flushing, refilling must be done with precision. Use only the manufacturer-specified coolant, such as DexCool for GM models. Never mix incompatible types.
Prepare a 50/50 mixture of concentrated coolant and distilled water. Fill the radiator and reservoir slowly.
To remove trapped air, run the engine with the heater on maximum until fans kick in and thermostat opens. Watch coolant level drop as air escapes. Top off as needed.
For best results, vacuum fill tools help eliminate air pockets entirely and ensure accurate fill volumes. Some advanced garages also use AI checker tools to verify correct fluid ratios, spot flow issues, or detect incomplete air purging.
Always monitor the coolant level over the next few days and check for leaks under the vehicle.
Summary
Coolant flushing, when done correctly, preserves cooling system efficiency and extends engine life. Use safe, non-aggressive methods tailored to the condition of the system.
Avoid shortcuts or overly harsh chemicals. Stick to distilled water rinses, mild descalers or detergents, and always use approved coolant mixtures. Careful execution of these steps ensures effective cleaning without compromising seals or creating expensive problems later on.